Introduction
Following on from the article on ‘capturing the sonic landscape: A guide to field recording’, this post explores how to build a binaural dummy head for under £15 (at the time of writing in Jan 2024….might be a bit more when you read this, what with the rampant inflation going on at the moment!). Building a dummy head will allow you to explore the immersive world of binaural recording without breaking the bank, creating your own tool which (mostly) mimics human hearing to create a 3-D auditory experience.
Understanding Binaural Recording
Before diving into the DIY project, let's briefly understand what binaural recording is and why it's so captivating. Binaural recording relies on two microphones placed in the same relative positions as the human ears. This setup mimics the natural hearing process, capturing sound with spatial accuracy and depth. When played back through headphones, the listener experiences a strikingly realistic sense of space and directionality.
Before we embark on our creative journey, let's briefly delve into the magic of binaural recording. This technique involves using two microphones, strategically placed to replicate the human ear's positioning. The result is an audio recording that, when played back through headphones, provides listeners with a remarkably realistic sense of space and directionality.
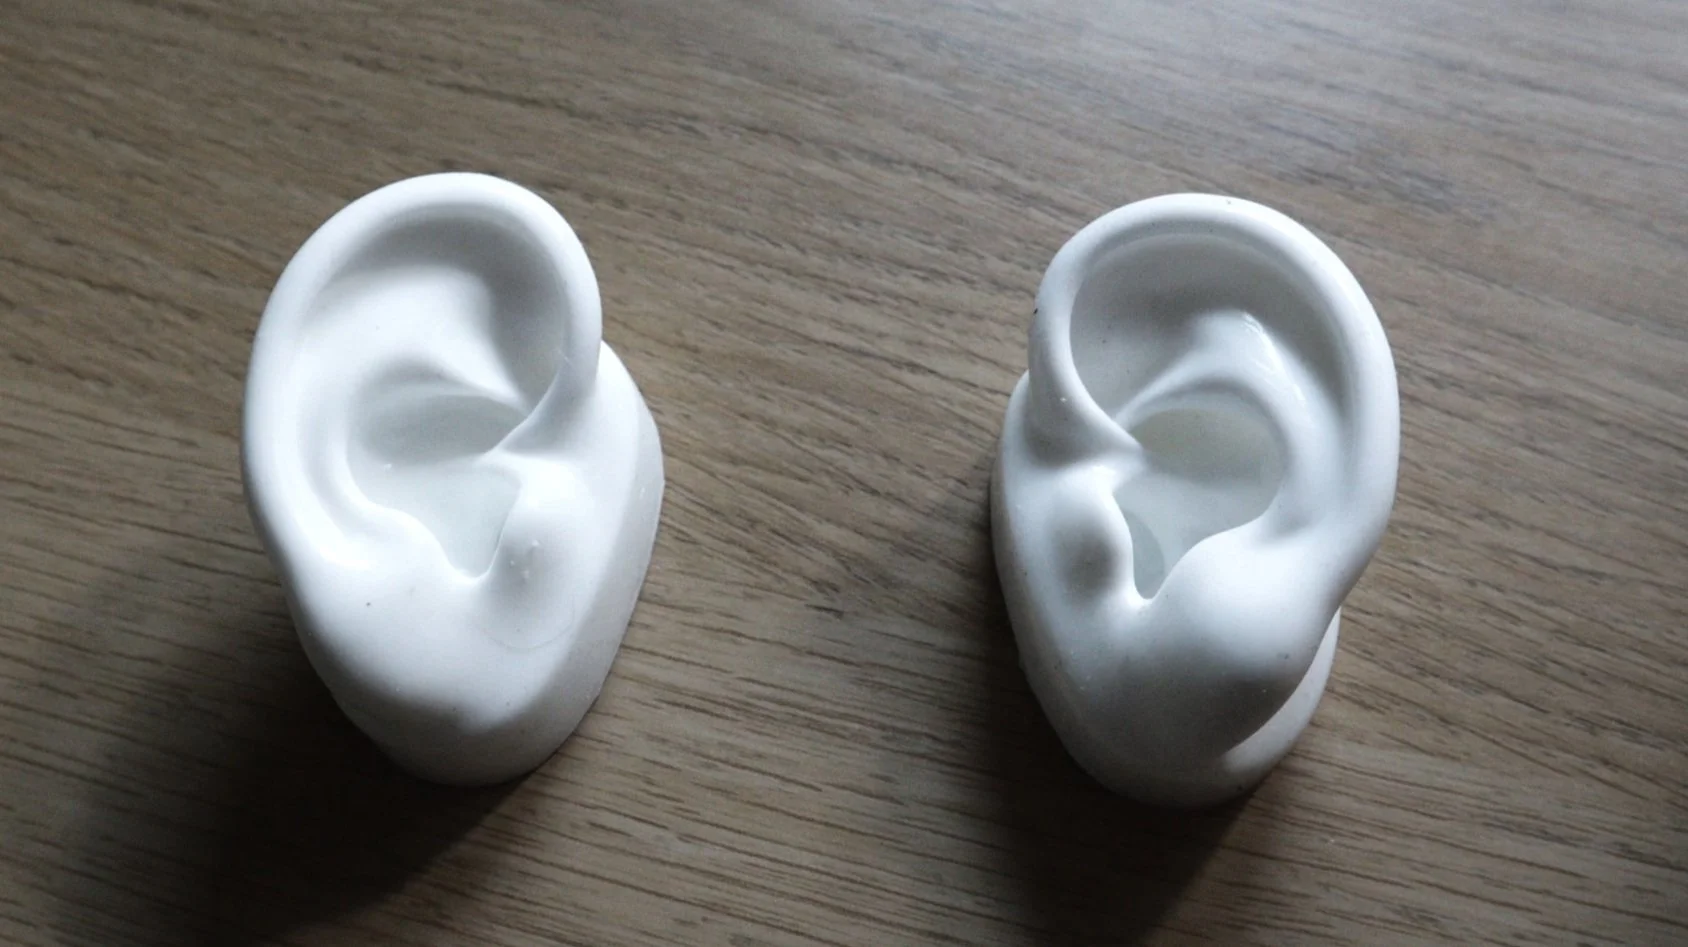
Silicone Ears for dummy binaural head.
Materials Needed:
The Head: The main element of the project, which contributes to the binaural time and phase differences (HRTF) which create the binaural soundfield. You can find an affordable option at a craft store, online marketplace, or repurpose an old mannequin head for a touch of character. Here is an example from Amazon.
Silicone Ears: If your head has no ears (most don’t they just have an ear bump), adding an ear with a pinnae and ear canal can really help add to the realism of the recording. Silicone ears for training ear piercers can be really handy here. This can be found online usually, here is an example from Amazon.
Omni-Directional Microphones (x2): Seek out small, budget-friendly omni-directional microphones to act as the "ears" of our dummy head. These can be sourced from various online platforms or electronics stores. Ebay or CPC can be good for these, but you might find that you have some lying around which came with a mobile phone or a laptop.
Cable (1-1.5 meters): A short length of wire with two conductors is needed for connecting the microphones to your recording device if you are not using pre-made capsules. You will need to solder these together
3.5mm Stereo Jack (1): You will need to ensure that this is a stereo jack (TRS) and ideally 3.5mm (minijack) rather than the larger 1/4”jack as most recorders have minijack inputs. This will need to be soldered to the cable unless you are using pre-made cable.
Hot Glue Gun and Glue Sticks: Use these to stick your ears/velcro directly to the head, be careful not to make the glue too hot as this could melt the head.
Velcro: This can be used if you don’t want to stick your ears to your head permanently and want to remove them or try different positions/heads.
Paint (optional): If you're feeling artistic, acrylic or spray paint can be used to customise the appearance of your dummy head.
**Note:
The above guide discusses making your own microphones, however you can (and I do) use pre-made binaural sets. Currently I use three different types with my head.
1) Soundman OKM - these have been a real work horse for me since I brought them in 2004 and have been around the world with me and are still going strong.
2) Sennhieser AMBEO Headset (Note these only work with a Lightning equipped iOS device like and iPad or iPhone and I believe have been discontinued ). If you can find a set of these on Ebay or online, they are really comfortable and great sounding microphones, plus you can also use them as headphone.
3) Immersive Soundscapes - Earsight Binaural Microphones. Well made and comfortable and they sound great as well.
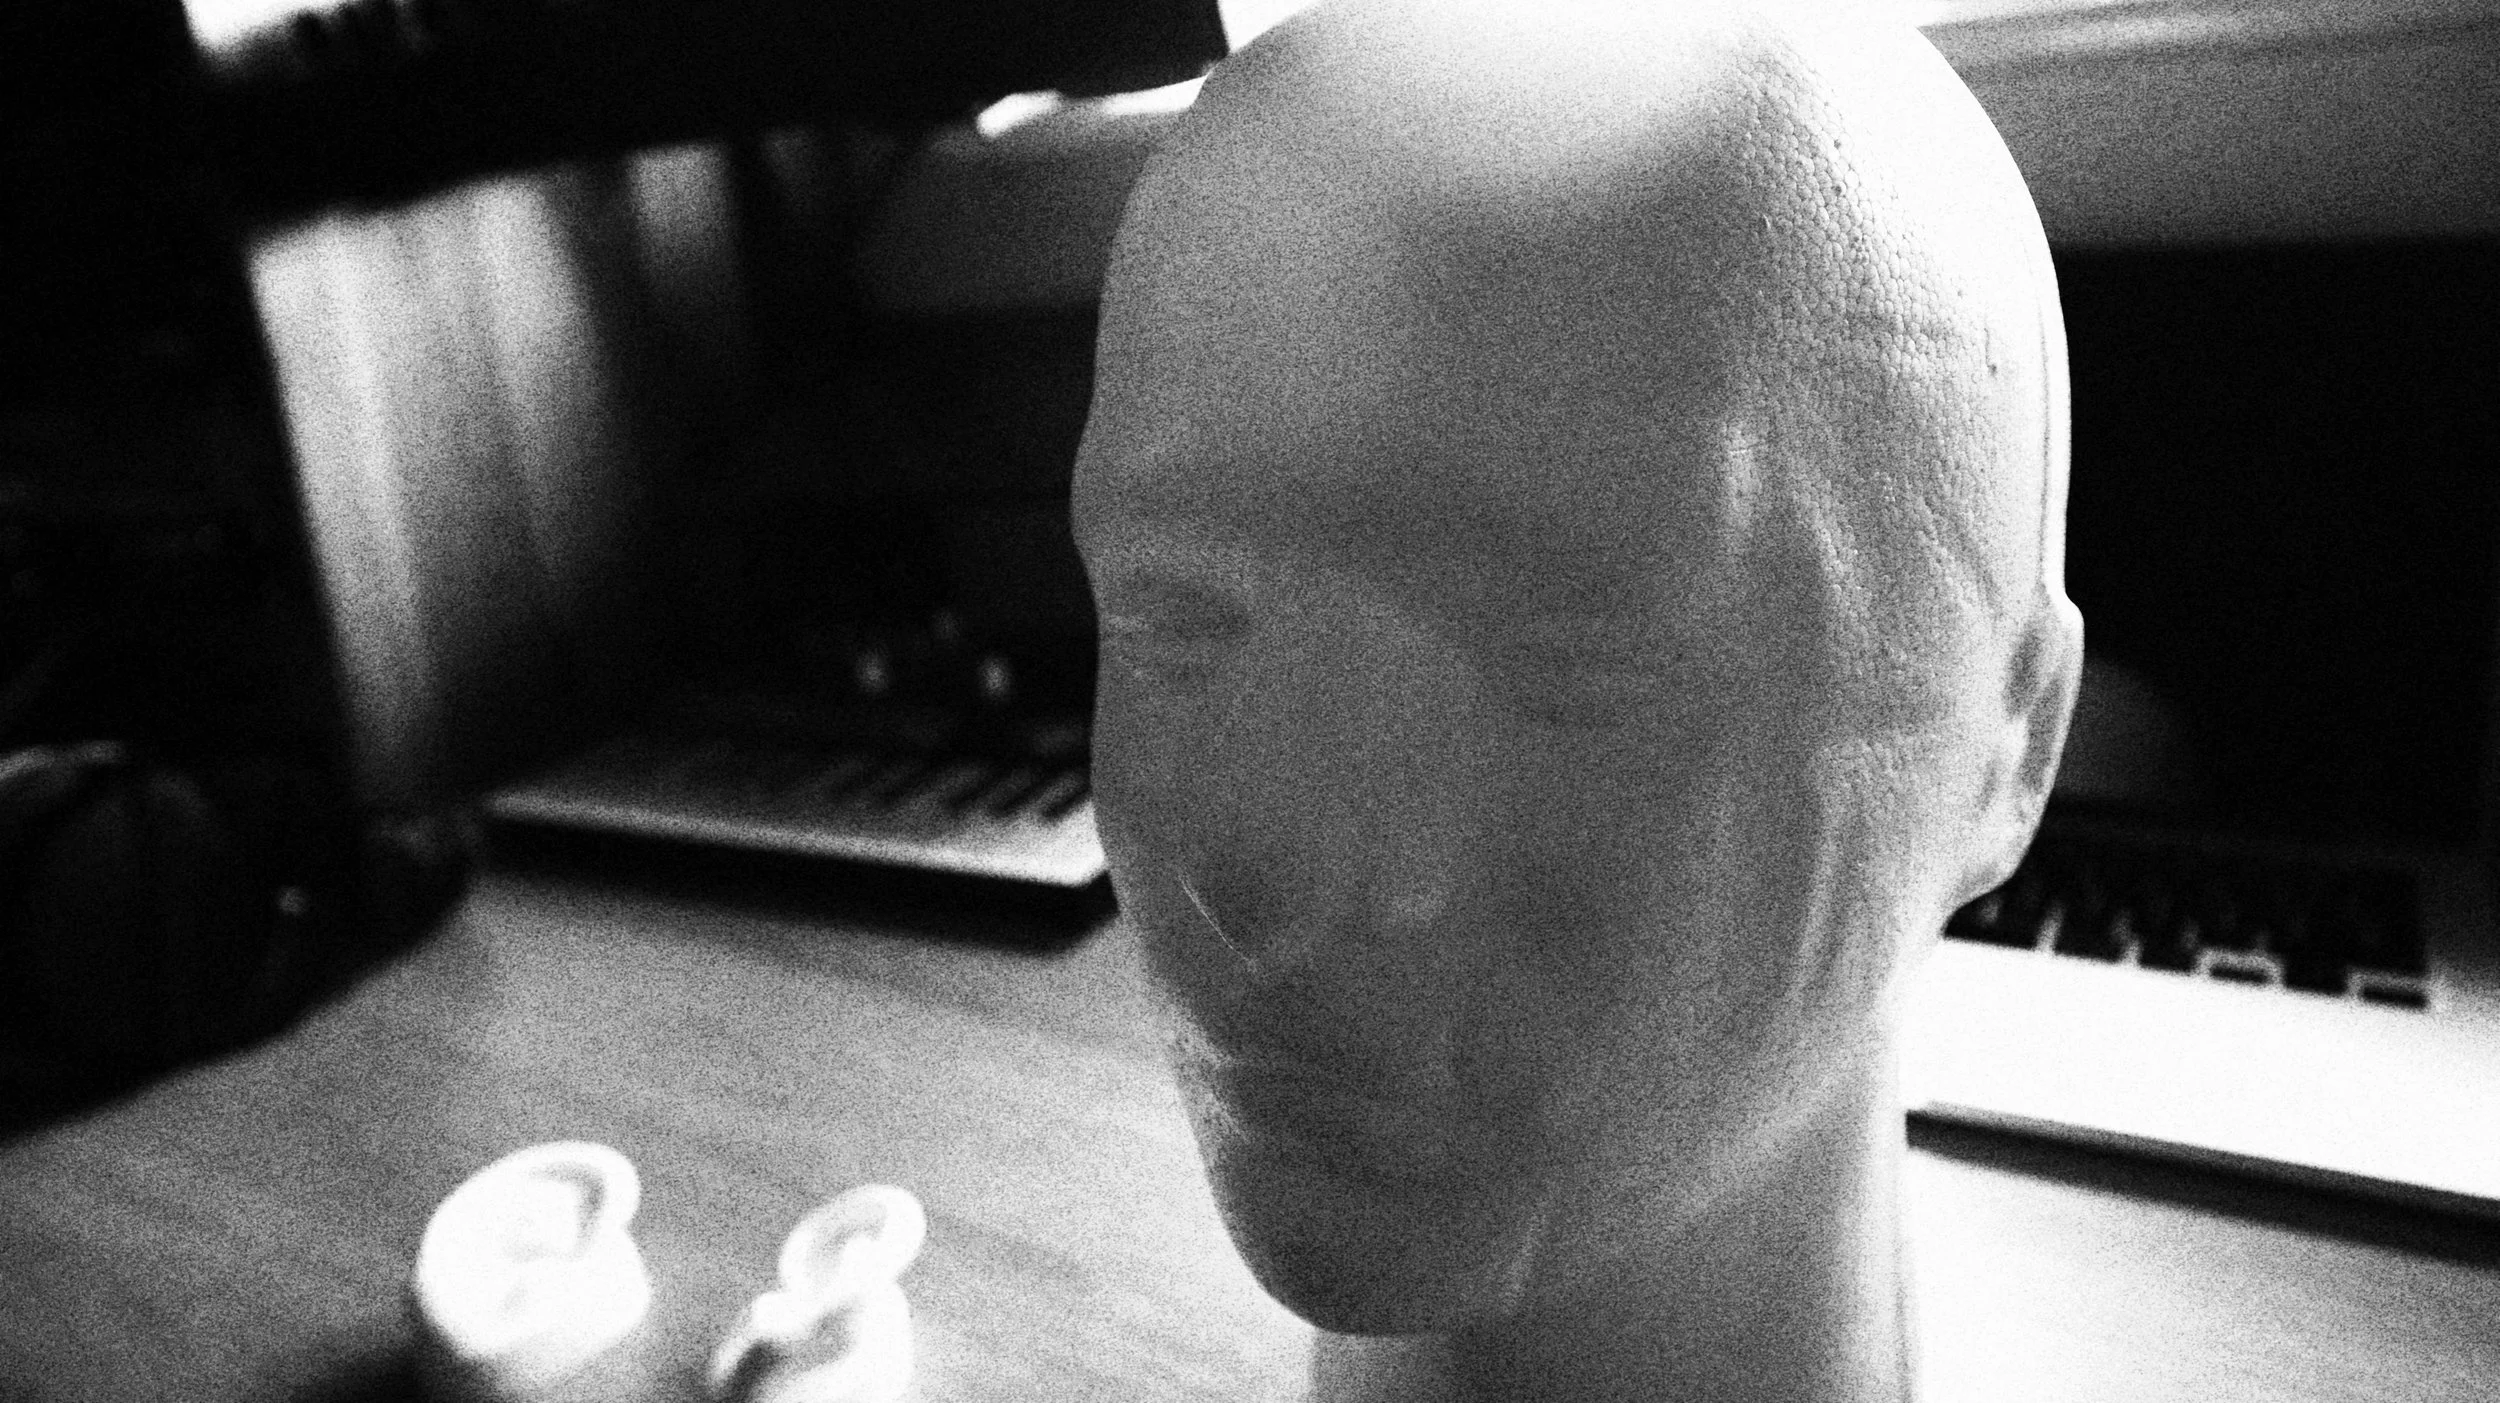
Arty shot of head before silicone ears are attached!
Step-by-Step DIY Guide:
Choosing the Perfect Head (!!):
Select your mannequin head and it should match the size of a human head for a more realistic result, however if you want to explore different size heads for different HRTFs and effects this could be interesting (I digress). You can make choices based on application, but I prefer a polystyrene type head over a plastic head as I feel it is more absorbent like a real head, especially at higher frequencies. Also they are lighter to carry around, but are of course less robust.
Adding the Ears:
Depending if you want to make the ears permanent or removable, you can either glue the ears directly to the head or glue some velcro to both the head and the ears, then use the velcro to attach the ears. This is my preferred approach.
Positioning the Microphones:
Insert the omni-directional microphones into the ear canal ensuring they face forward (outwards), this should be obvious on most microphones (especially if you made them yourself) but on the OKM is not immediately obvious.
If you are making your own cable, this positioning will give you an idea of how long you will need the connection cable to be.
Testing and Adjustments:
Plug the 3.5mm stereo jack into your recording device and make sure you can hear sound coming through (or see on the recorders meter).
You can now make any necessary adjustments to the microphone positions, head (eg hair type!) or wiring to fine-tune the binaural setup.
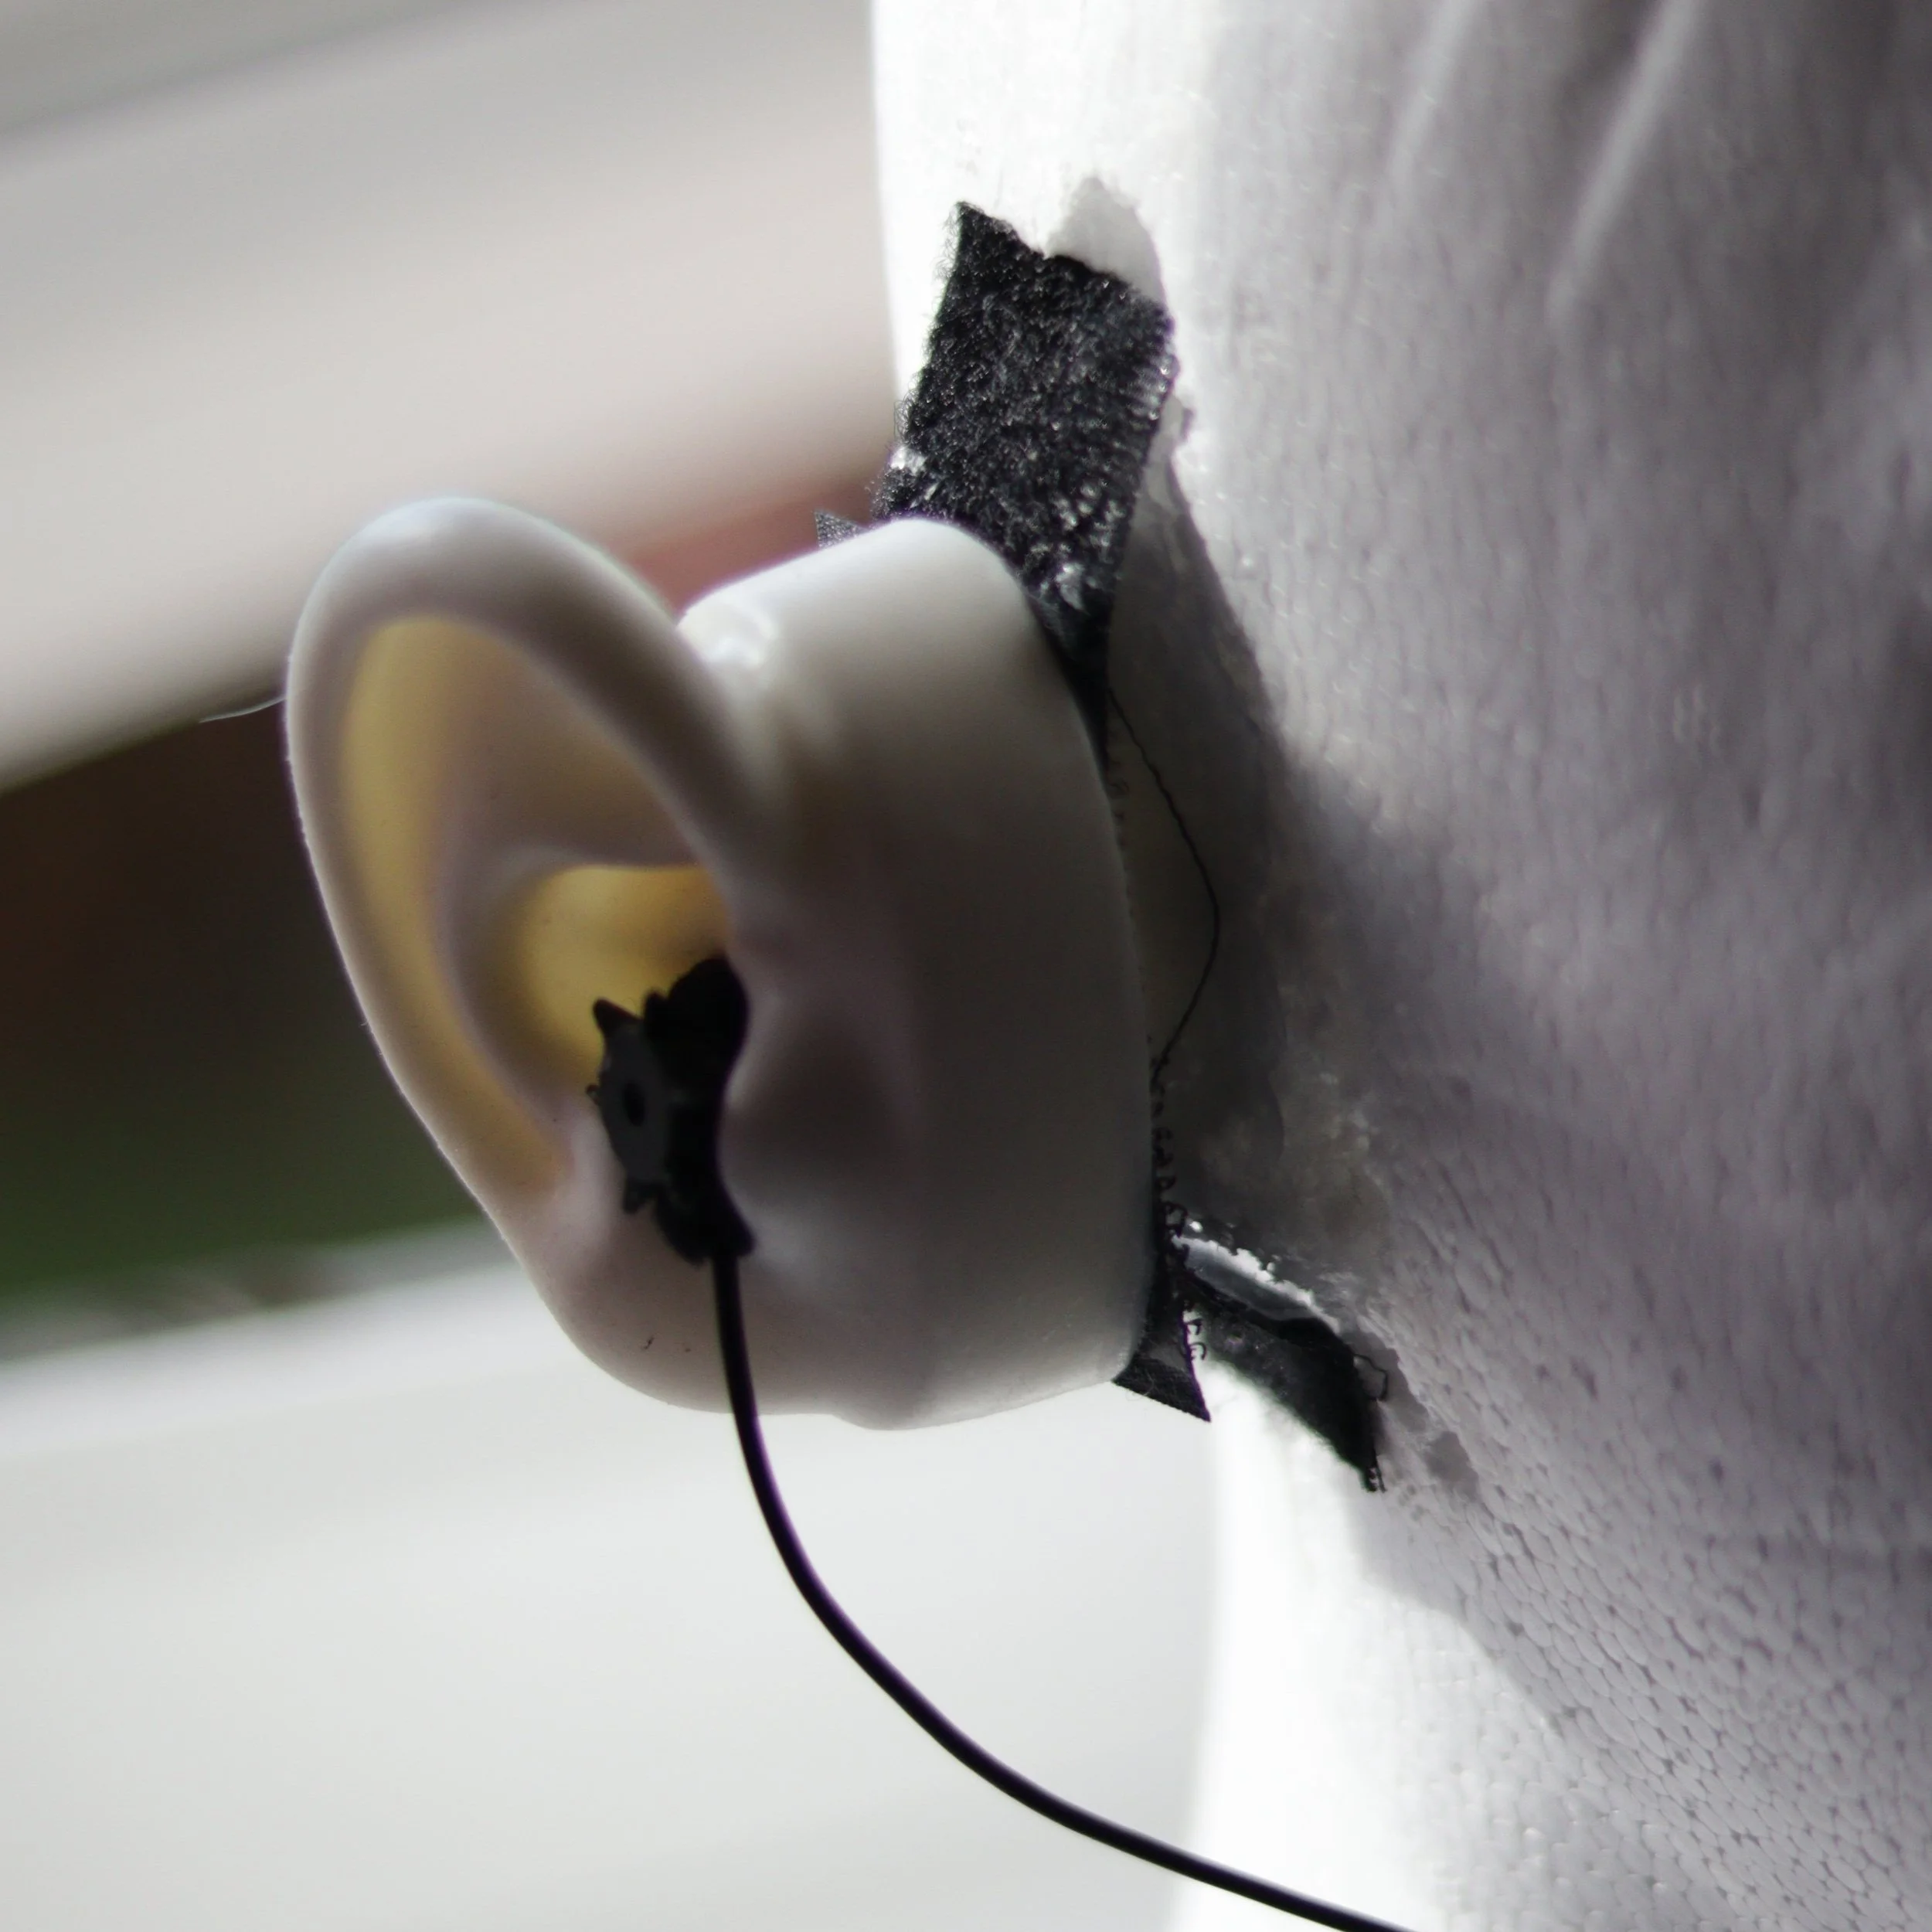
Attaching the ear and microphone
Conclusion:
Building a binaural dummy head for under £15 (as of time of writing!) is a really fun thing to do, and can produce some fantastic binaural recordings! Of course walking around with a dummy head can lead to all manner of hilarious situations!! But most importantly it is a cheap and easy way to open the door to the world of immersive audio and spatial exploration. So, without any further ado, gather your materials, unleash your creativity, and embark on a unique audio adventure that will elevate your sound experiences to new heights.
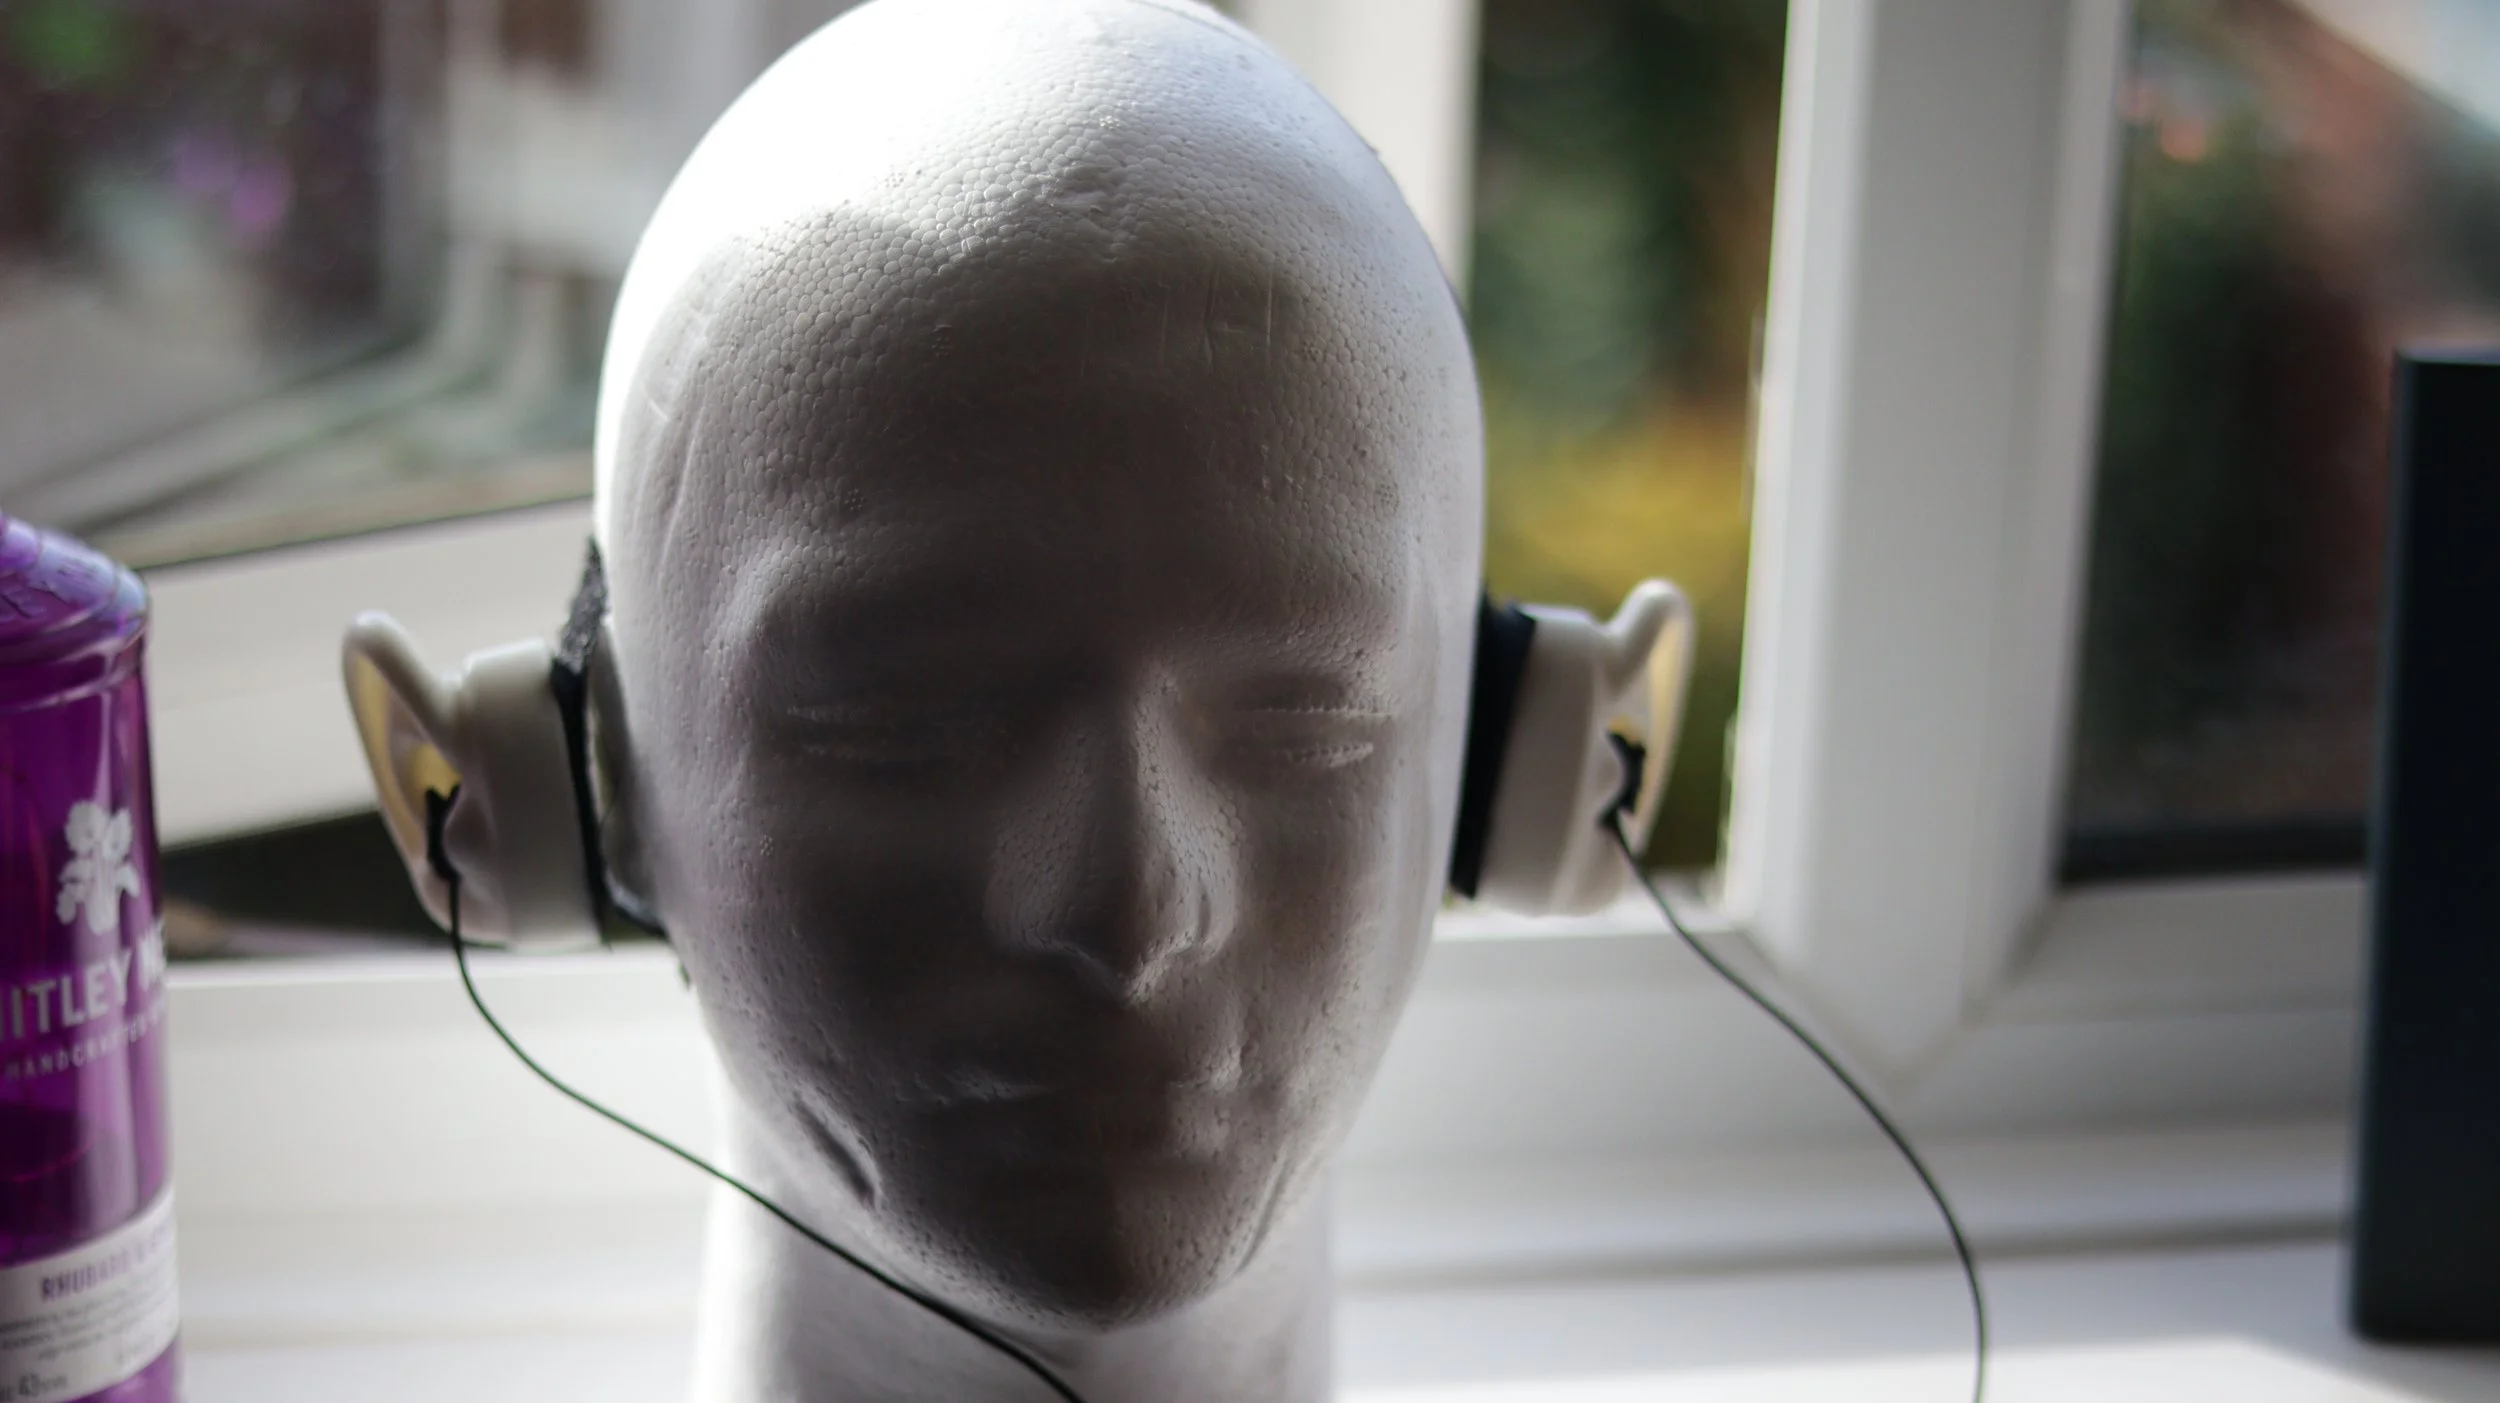
Ready to record, Binaural Billy the DIY Dummy Head with OKM Soundman mics
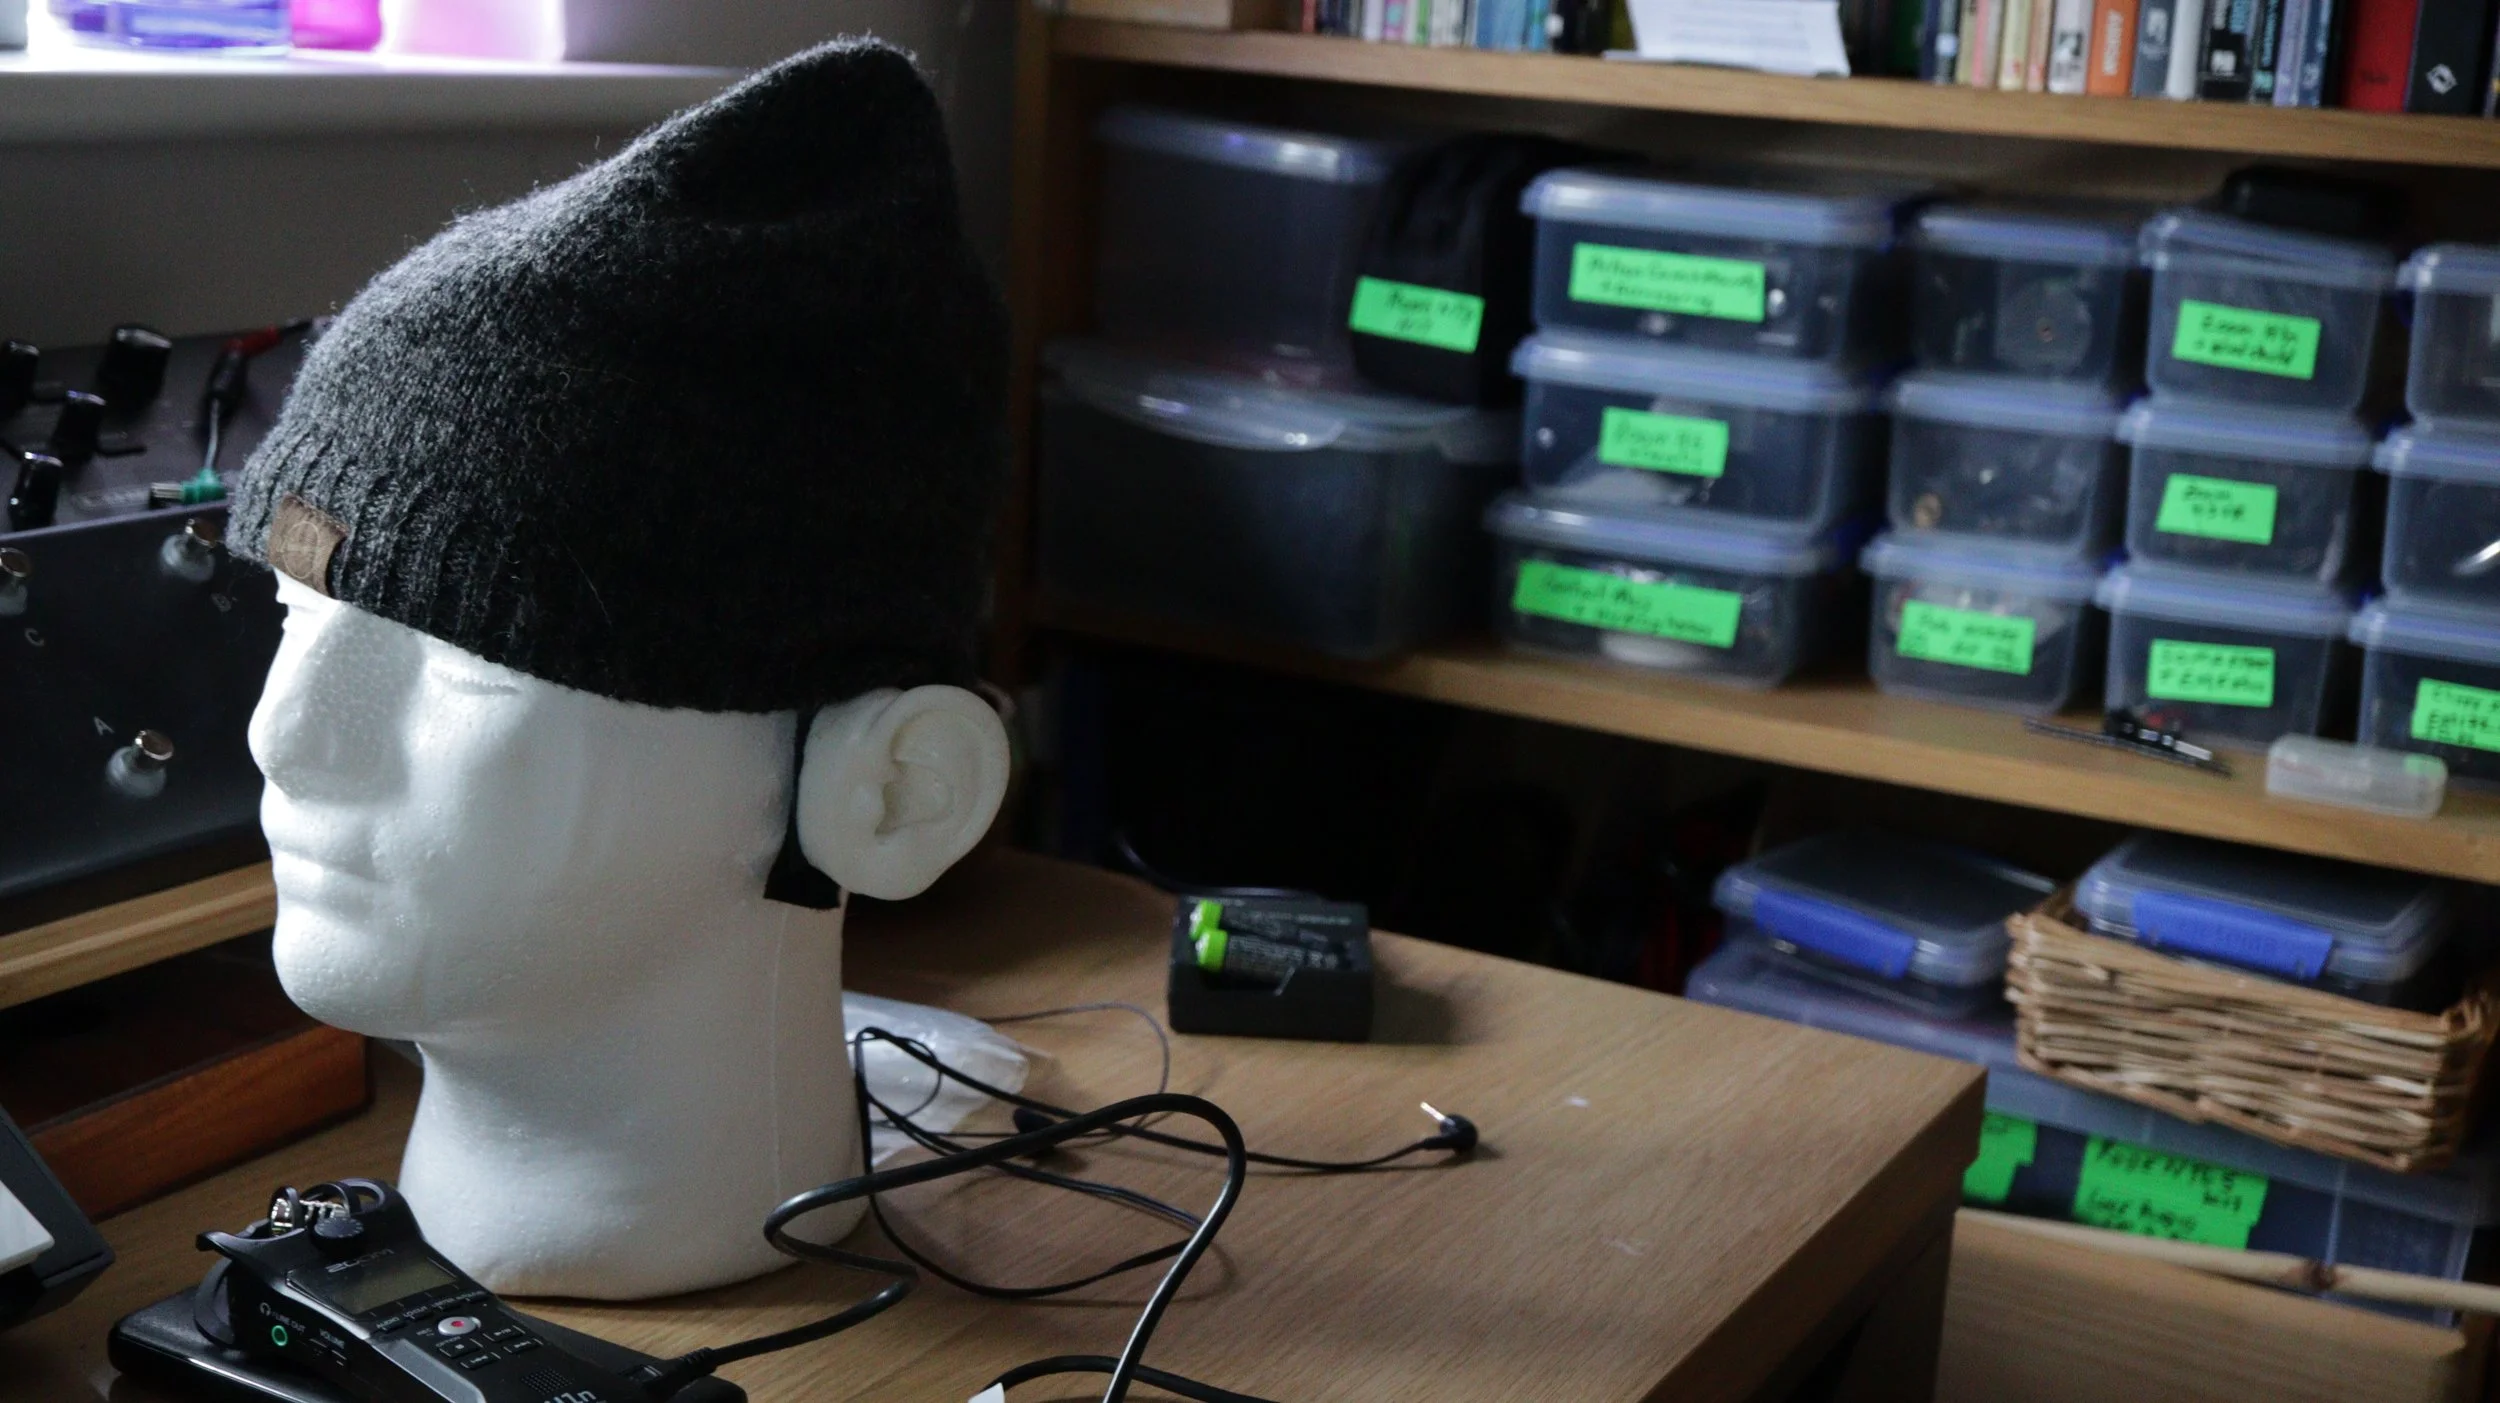
Ready to record, Binaural Billy the DIY Dummy Head